by Molly Saunders, Digital (Craft) Bear

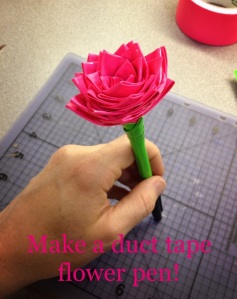
You’ve probably heard about the duct tape craft craze sweeping the nation (I know, I know, I just had to use that phrase, been saving it for years.) These are virtually indestructible crafts and these flower pens can be great gifts for teachers or for adding some pizazz to a world filled with gray. See how easy they are to make!
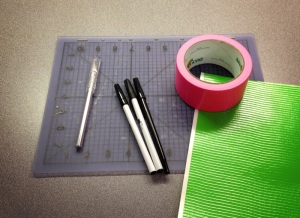
Supplies for flowers:
Two rolls of duct tape (1 for flower and 1 for stem/leaves) or 1 roll and 1 sheet (I used a sheet because I couldn’t find the color I wanted in a roll)
One leftover ball point pen (mine has a lid but that’s not necessary)
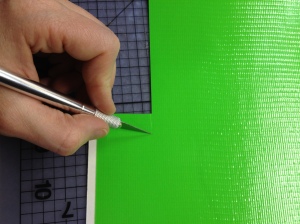
Exacto knife/scissors (exacto knife is optional if you have small children around, but I found it much easier to use than scissors)
Self-healing cutting surface/ruler (cutting surface is again, optional, but I found it much easier and faster than scissors and a ruler.)
Directions:
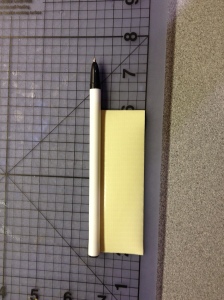
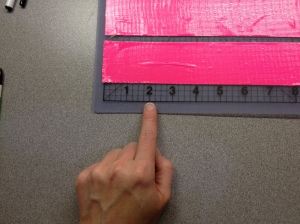
1. Cut a 4 in strip of duct tape just wide enough to cover the pen (mine was about 1.5 in), then wrap it around the pen to make the stem of the flower. (I also left room at the end for the cap to go back on without pushing up the tape, but this is completely optional.)
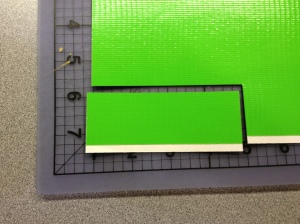
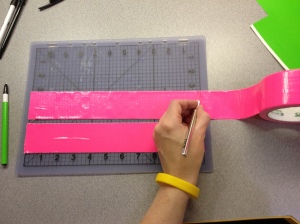
2. Cut as many 8 in strips of the second color as you can fit on your work surface. Cut them into 2 in pieces.
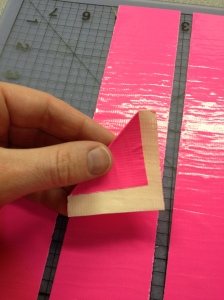
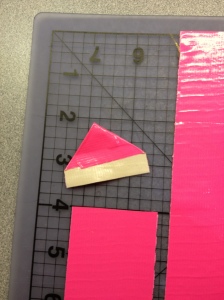
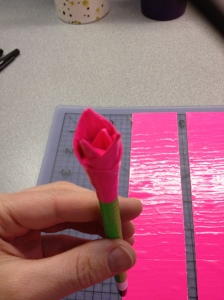
3. To make the petals, fold down the corners of the duct tape pieces to make something resembling a house.
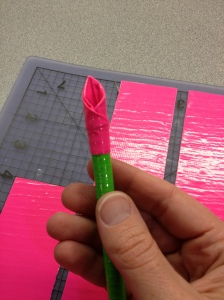
Then start wrapping the pieces around the pen, building on them to make them look like petals of a flower.
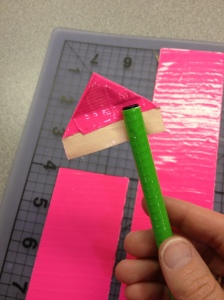 4. Continue to build on the petals, adding as many as you wish until the flower is the size you want it to be.
*I found it easiest to cut a bunch of 2 in pieces and to have some petals ready so I could be more efficient.
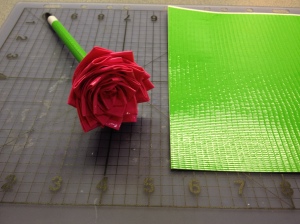
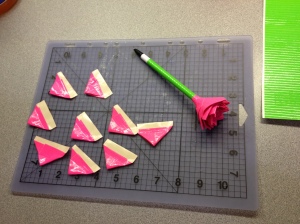 5. Once your flower is as big as you want it, cut a small piece of the stem/leaf color to cover the jagged bottom of the pink. You can also make cut little leaves if you want, but I kept mine clean for writing purposes.
 Once you are finished, your writing block might magically disappear! These make great gifts and once the pieces of tape are cut they are a perfect craft for kids. What have you made with duct tape? Let me know if you like this craft and I’ll share more like it!



September 4th, 2012 at 10:30 am
Reblogged this on drndark.
September 4th, 2012 at 1:21 pm
Soooo jealous that you can get exciting coloured duct tape… only silver and black available here!
September 6th, 2012 at 8:21 am
Hi Claire, that’s disappointing! Maybe you can order it online somewhere. If so, it’s totally worth it. There are tons of awesome things you can make with it. Come back next week to see another pawsome craft! Thanks for stopping by!
September 10th, 2012 at 12:35 pm
I absolutely love this and I know whatcraft I’m trying next! Will post pictures of my efforts in due course ……..
September 11th, 2012 at 11:50 am
Hi Gill, yes, we definitely want to see pics!
September 10th, 2012 at 3:20 pm
Walmart has the rolls and sheets in a lot of colors – check it out
September 11th, 2012 at 11:48 am
Oh, thanks for the tip, Celeste!
September 20th, 2012 at 8:25 pm
Awesome I made like 20 of these.
September 20th, 2012 at 8:31 pm
Yah
September 24th, 2012 at 1:30 pm
Cool! Thanks for stopping by Livi!
April 18th, 2013 at 5:24 pm
reall awesome i made one but its closed…. 😦
June 9th, 2013 at 8:26 pm
Ok so I’m only ten and mine looks more like a tulip than a actual flower. Please be specific and tells how to make the petals good!
June 10th, 2013 at 11:07 am
Hi Mikayla,
Cool! A tulip would be beautiful!
To make the petals come down like a rose, I kept putting each new petal on the flower just a teeny tiny bit lower than the petal before it. I can see how the placement of the petals on the flower pen would make totally different looking flowers. So that’s what I did for this one. You might have to test it to see how it looks best. And my way might not be the best way or the way that you think makes the nicest flowers. If you keep putting the petals on at the same height, like right next to each other, I think that would make it look more like a tulip, although, like I said, a tulip would be cool too. Good luck! ~Molly